
Build A Surfboard Rack For Your Van
Building a surfboard rack for your van allows you to pull up to your favorite break and pick the right board for the given conditions. It’s pretty awesome being able to do a surf check and have a large part of your quiver available.
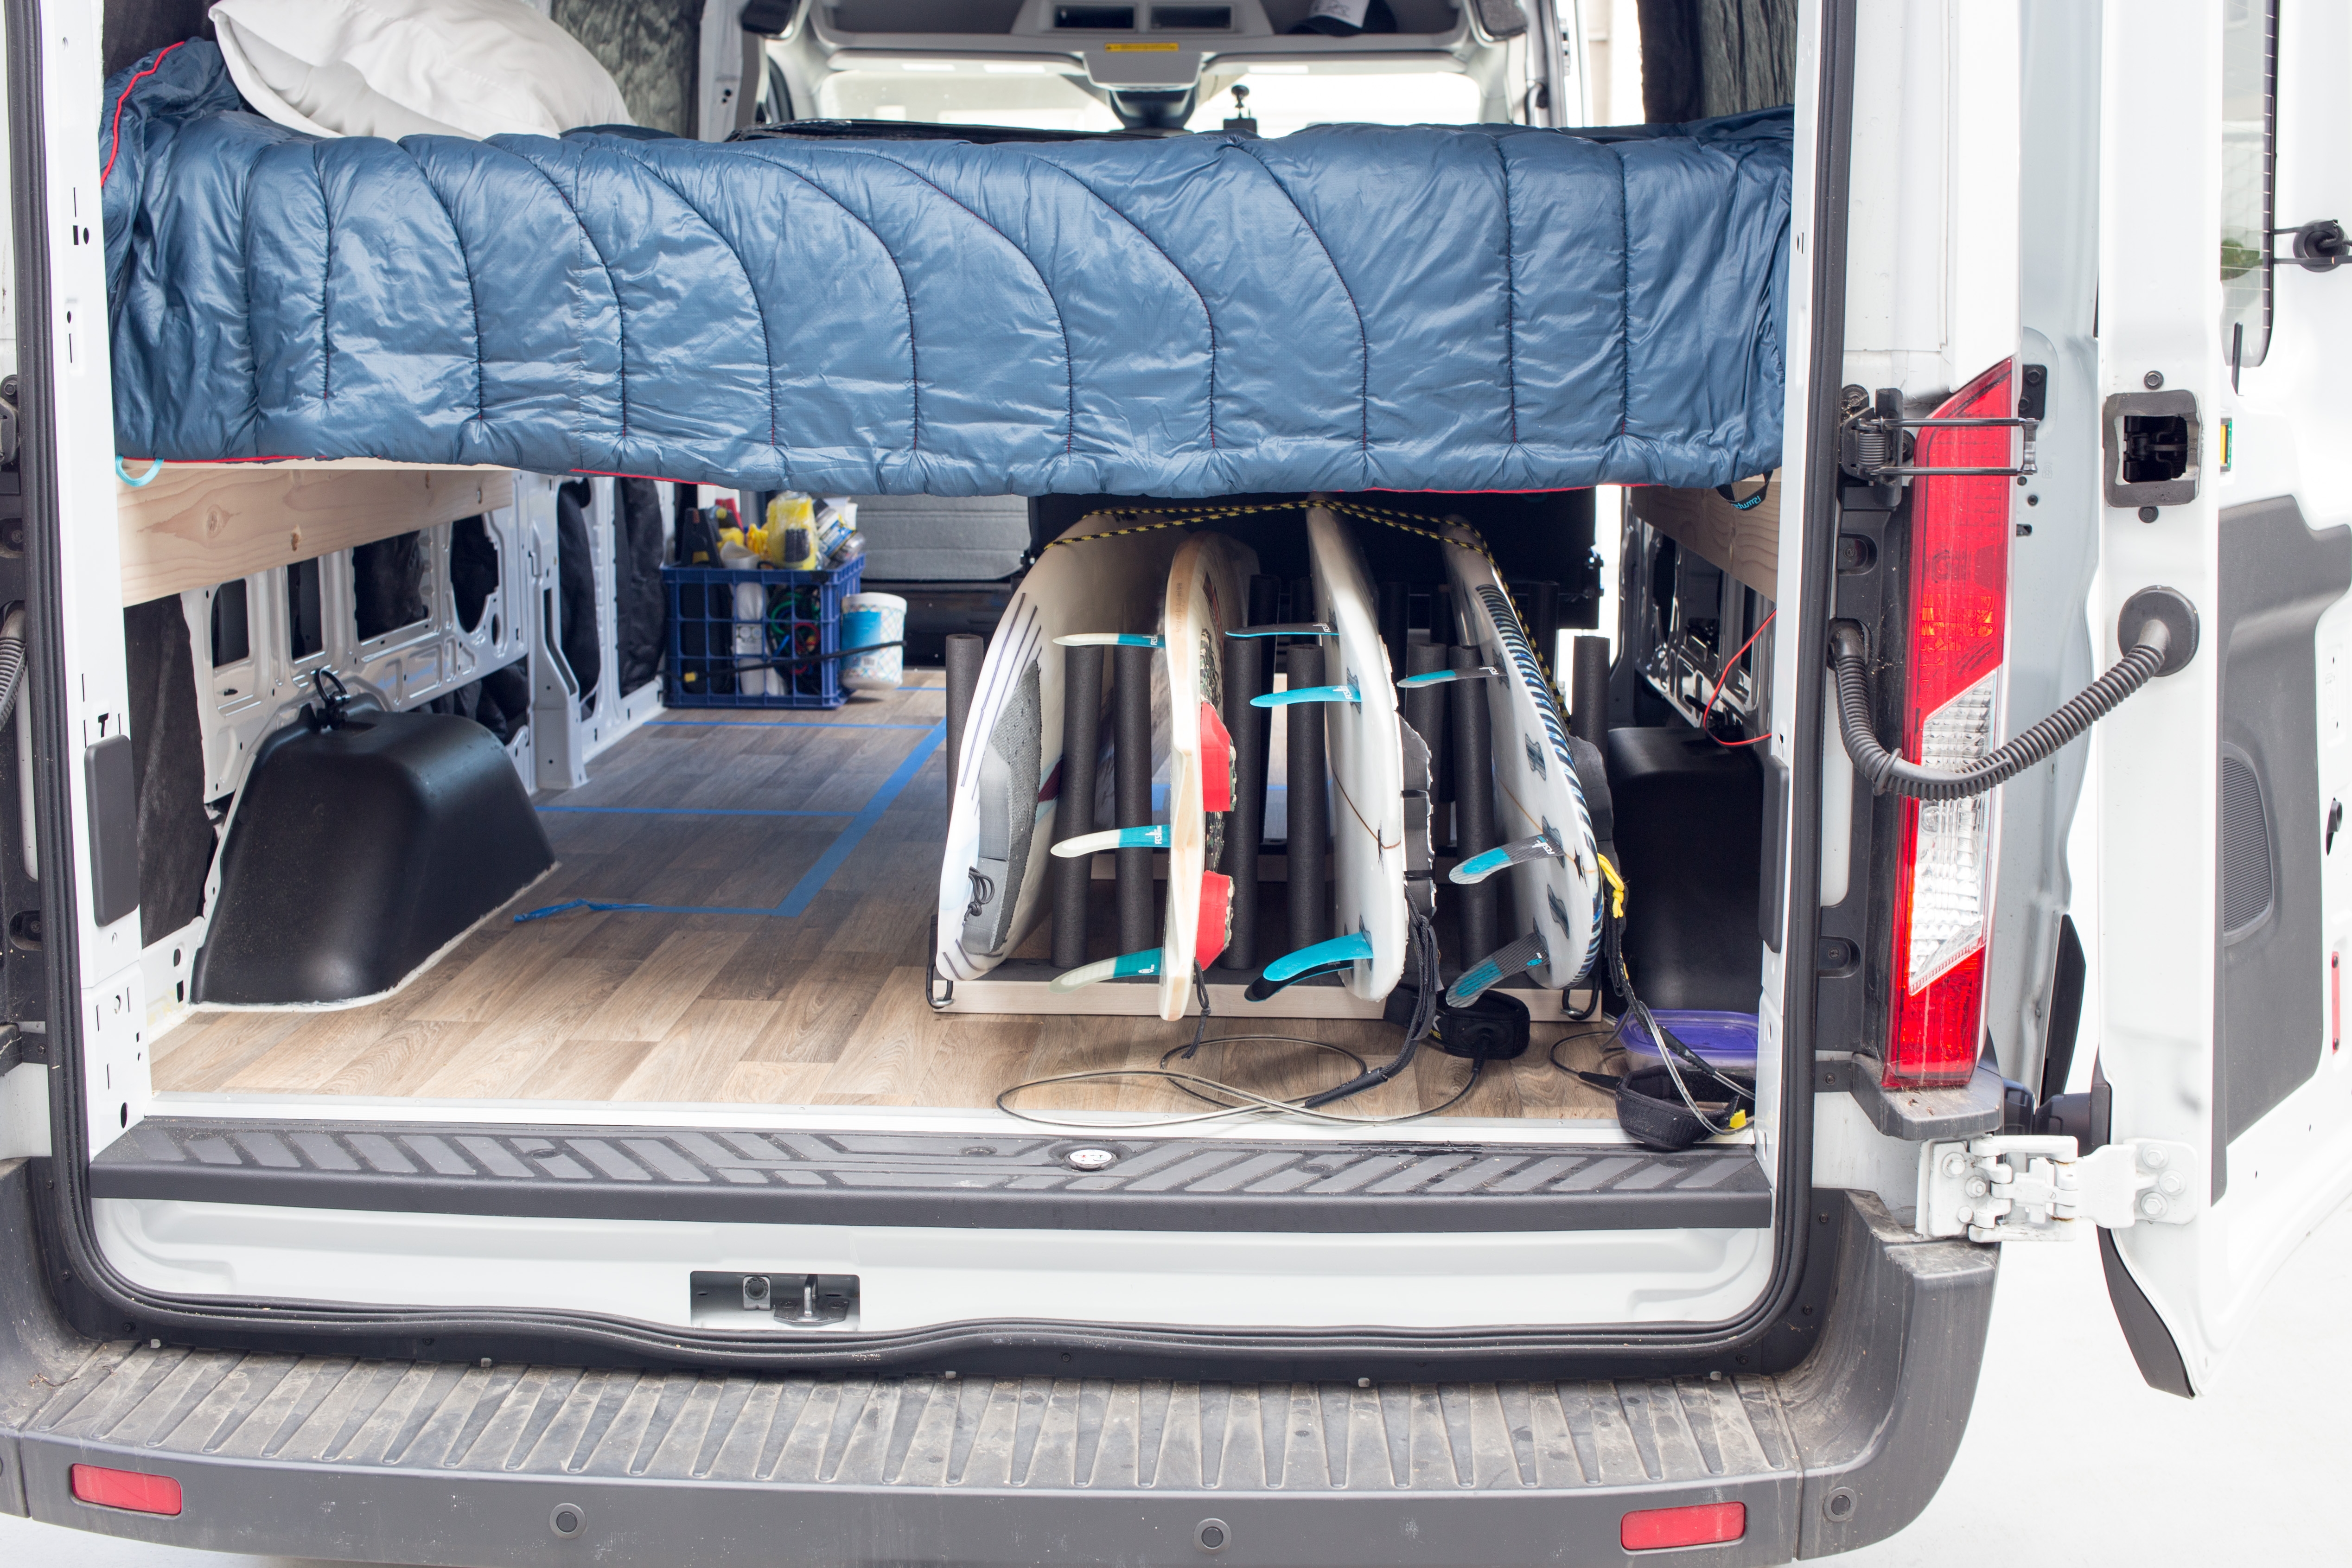
After watching a couple Youtube videos it was pretty easy to come up with the plan for Gidget’s surfboard rack. It’s basically just your typical wall mounted rack, but mounted to the floor. The boards are being stored horizontally under the bed, so we created 2 racks to keep them in place.
The setup can hold about 8 boards without fins or 4 with fins. Max length that can fit is about 6’6″. The vertical foam covered dowels are not permanently installed and can be moved around to accommodate thick boards or other items like camp chairs and tables.

Finished surfboard rack
Parts
- 2″x3″ piece of Douglas Fir wood for base – $5
- 3/4″ round dowels for vertical supports – $15
- 1/2″ inner diameter pipe insulation for vertical supports – $10
- Cross Linked Polyethylene foam to protect the surfboard rails – $0 left over from a previous project
- Wood screws to attached the 2″x3″ to the floor – $1
- Eye screws for bungee cord attachments – $2
- 48″ flat bungee cords – $6
- 3M 90 Spray Adhesive – $13
- White wash semi-transparent exterior wood stain – $0 left over from a previous project
Tools
- Drill and various drill bits
- Chop saw
- Orbital hand sander
- Utility knife
Video
Instructions
The first step was to cut the base of the racks to length. The length was dictated by the amount of space under the bed we were willing to allocate to surfboard storage.
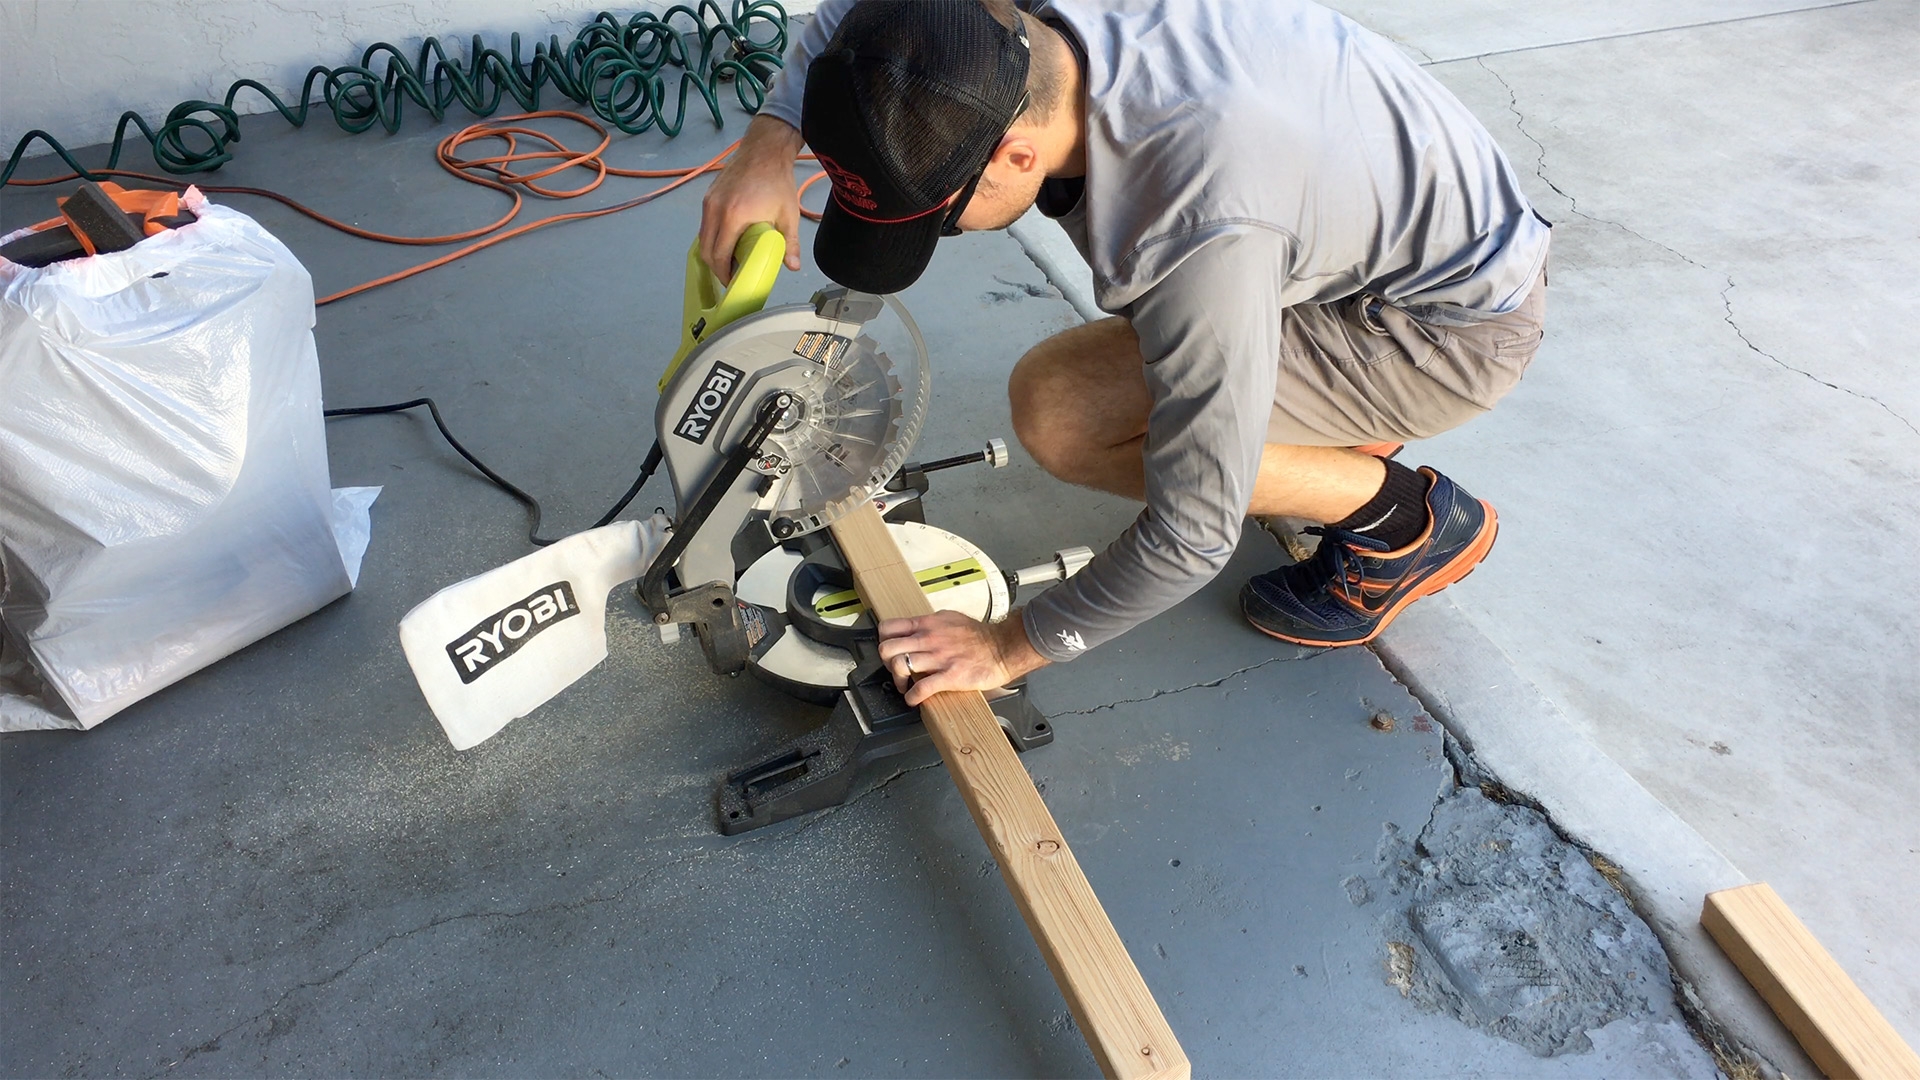
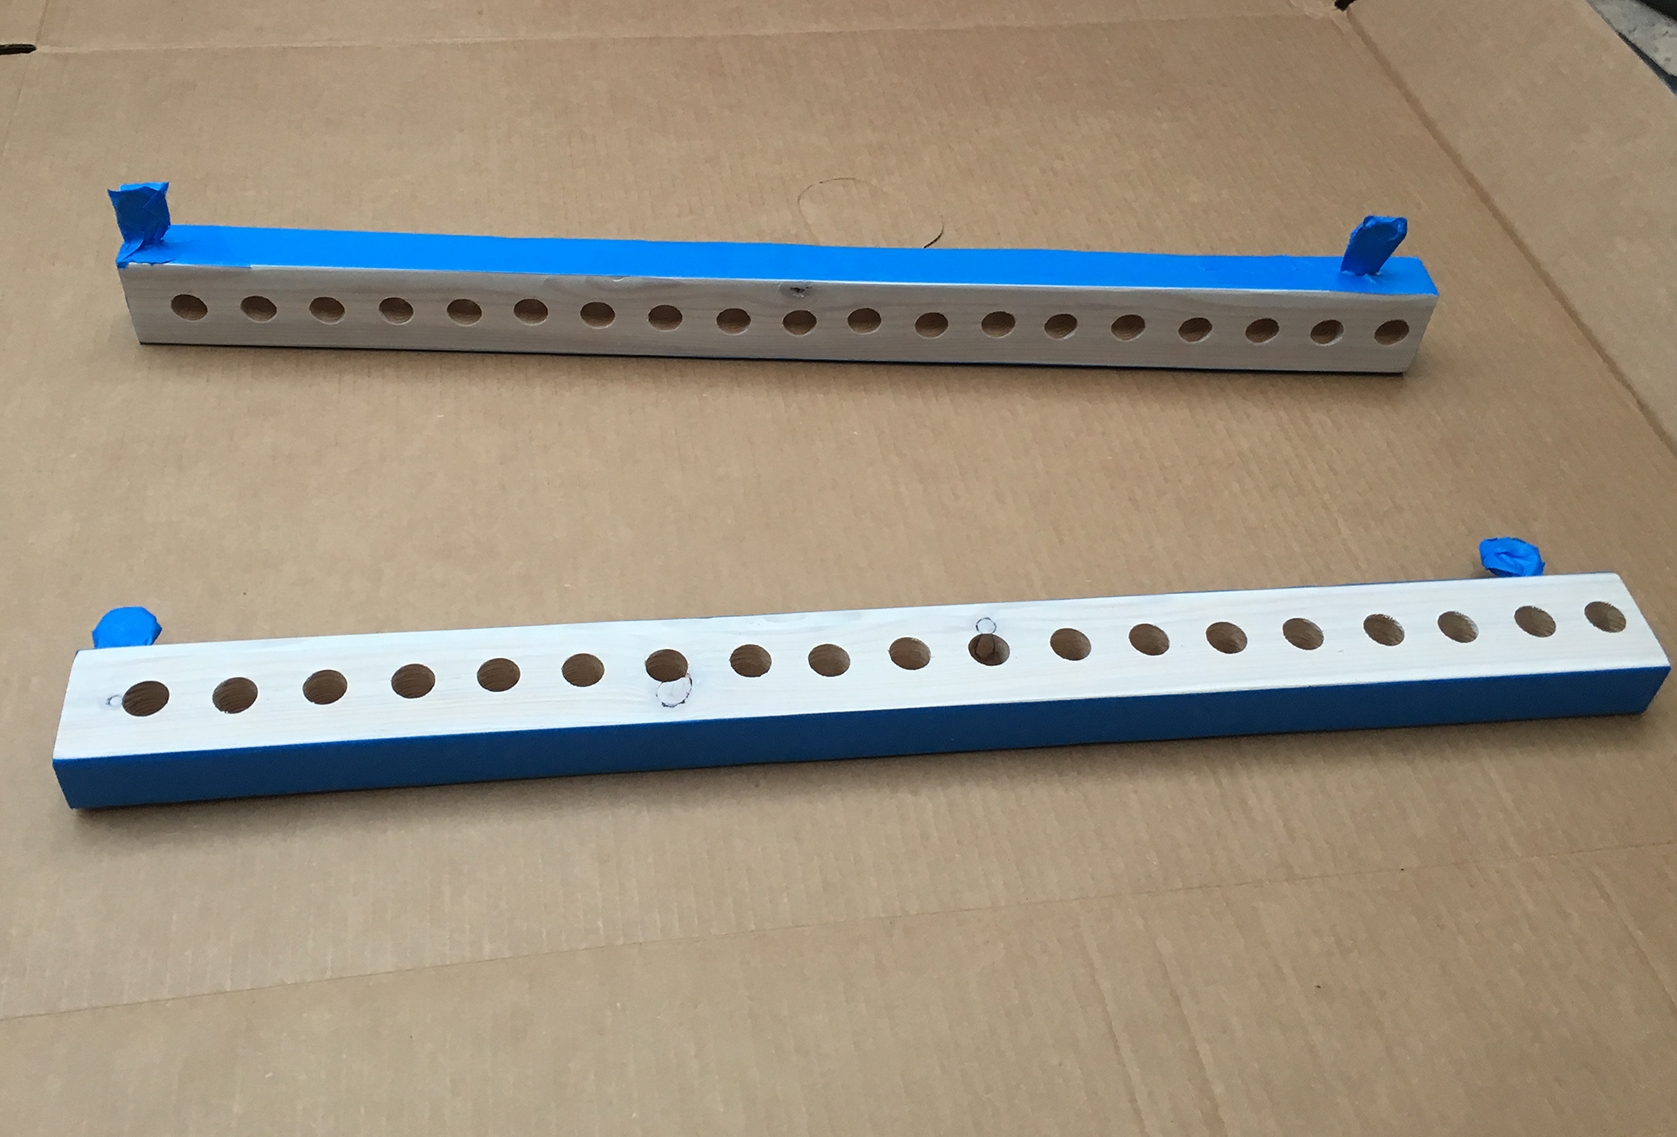
Cut the 2″x3″ to length.
By drilling way more holes than dowels, it gives you flexibility in how you place them. Drilling holes every 1.5″ works well when using 3/4″ dowels.

Mark drill locations for the dowels every 1.5″.

Drill out 3/4″ holes for the dowels using a spade bit.
Cut the dowels to about 16″ long. This length seems to provide enough support for a typical shortboard.
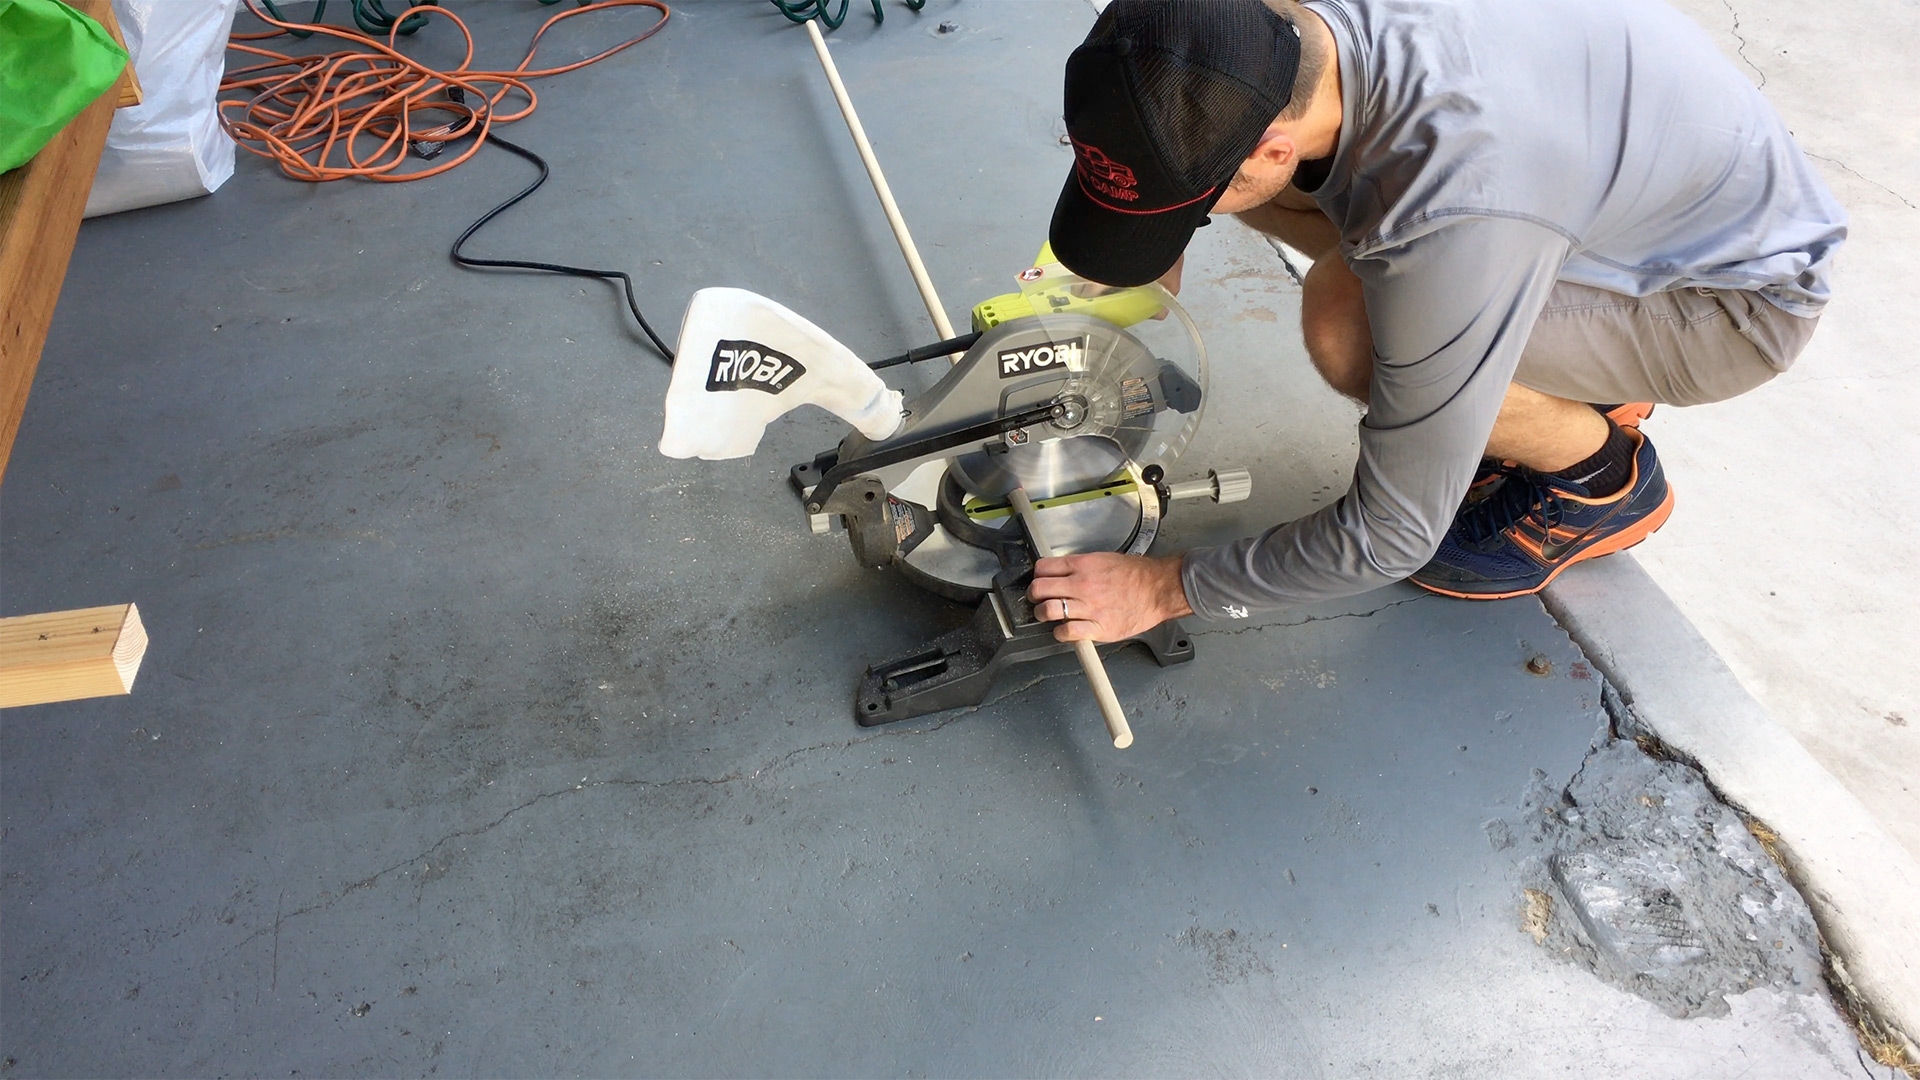
Cut the 3/4″ dowels to length.
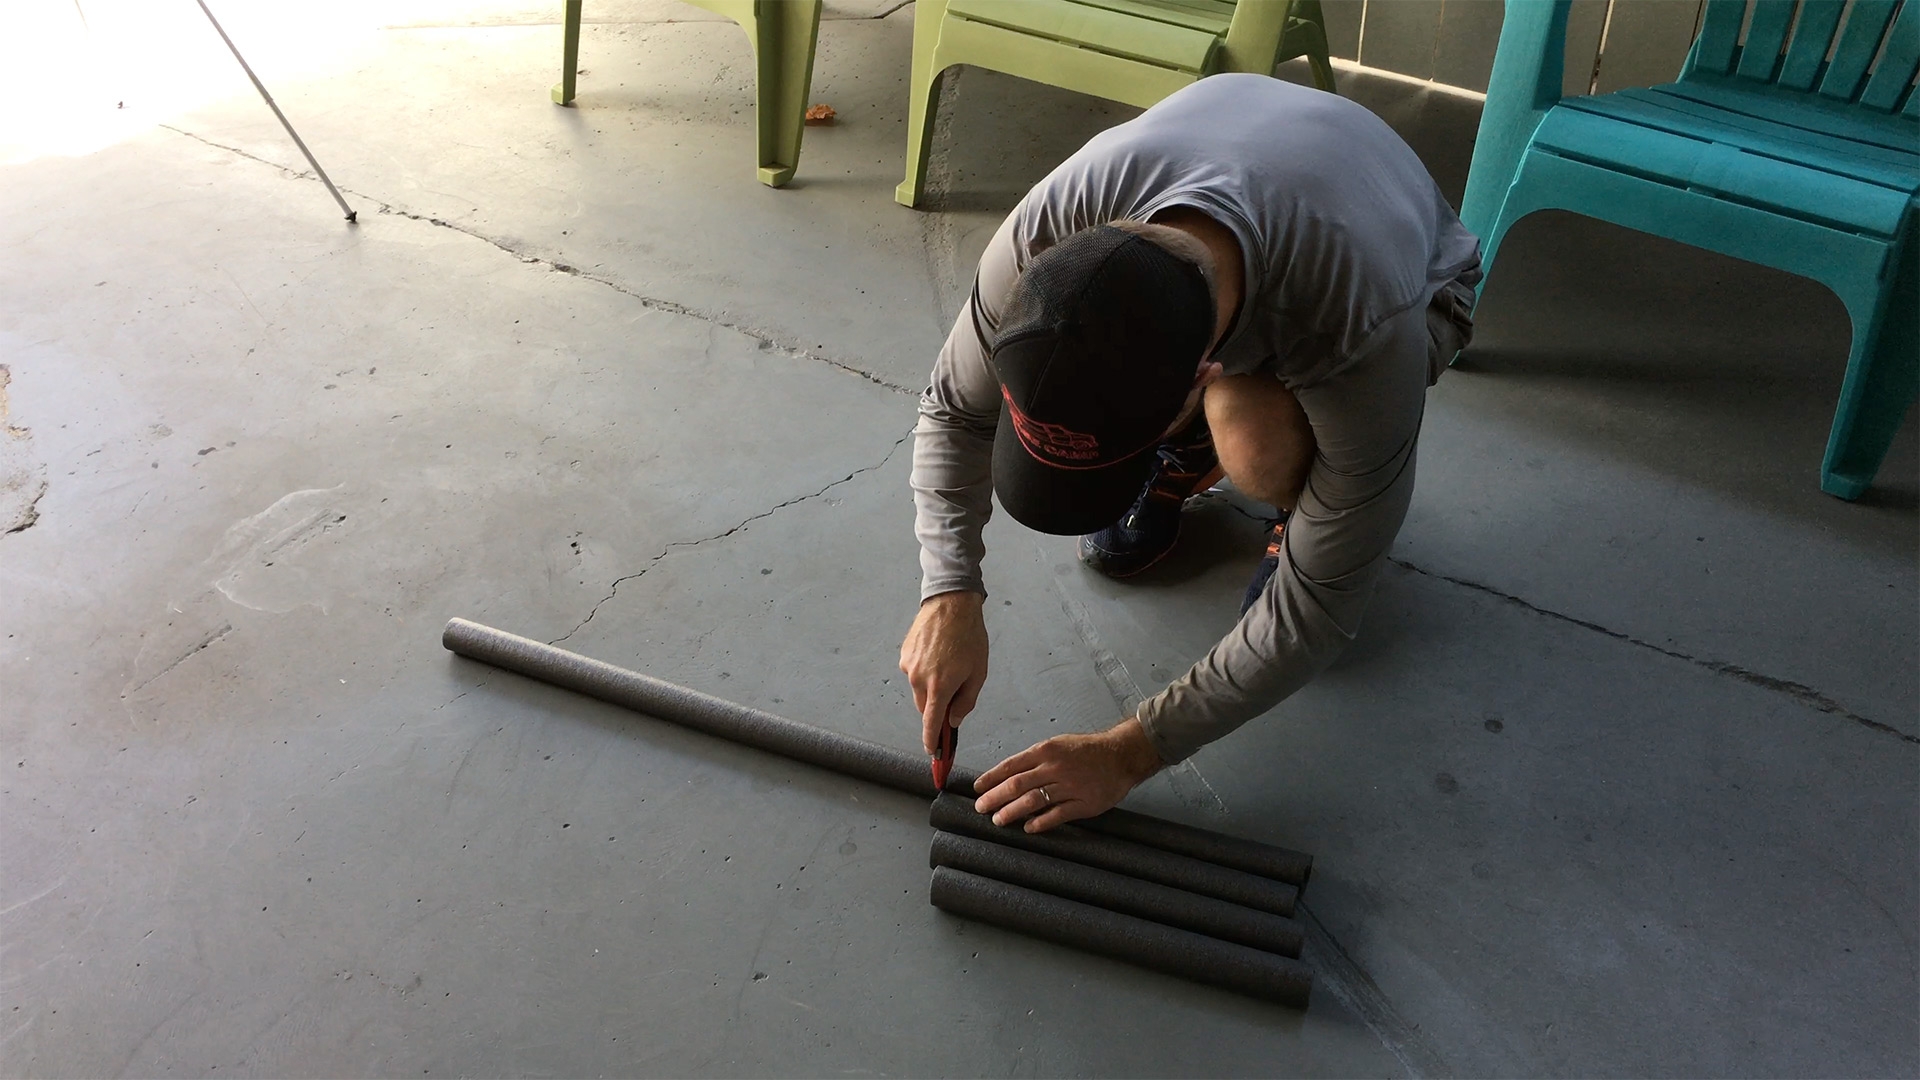
Cut pipe insulation about 1″ shorter than the dowels, so that the dowels can be inserted into the base.
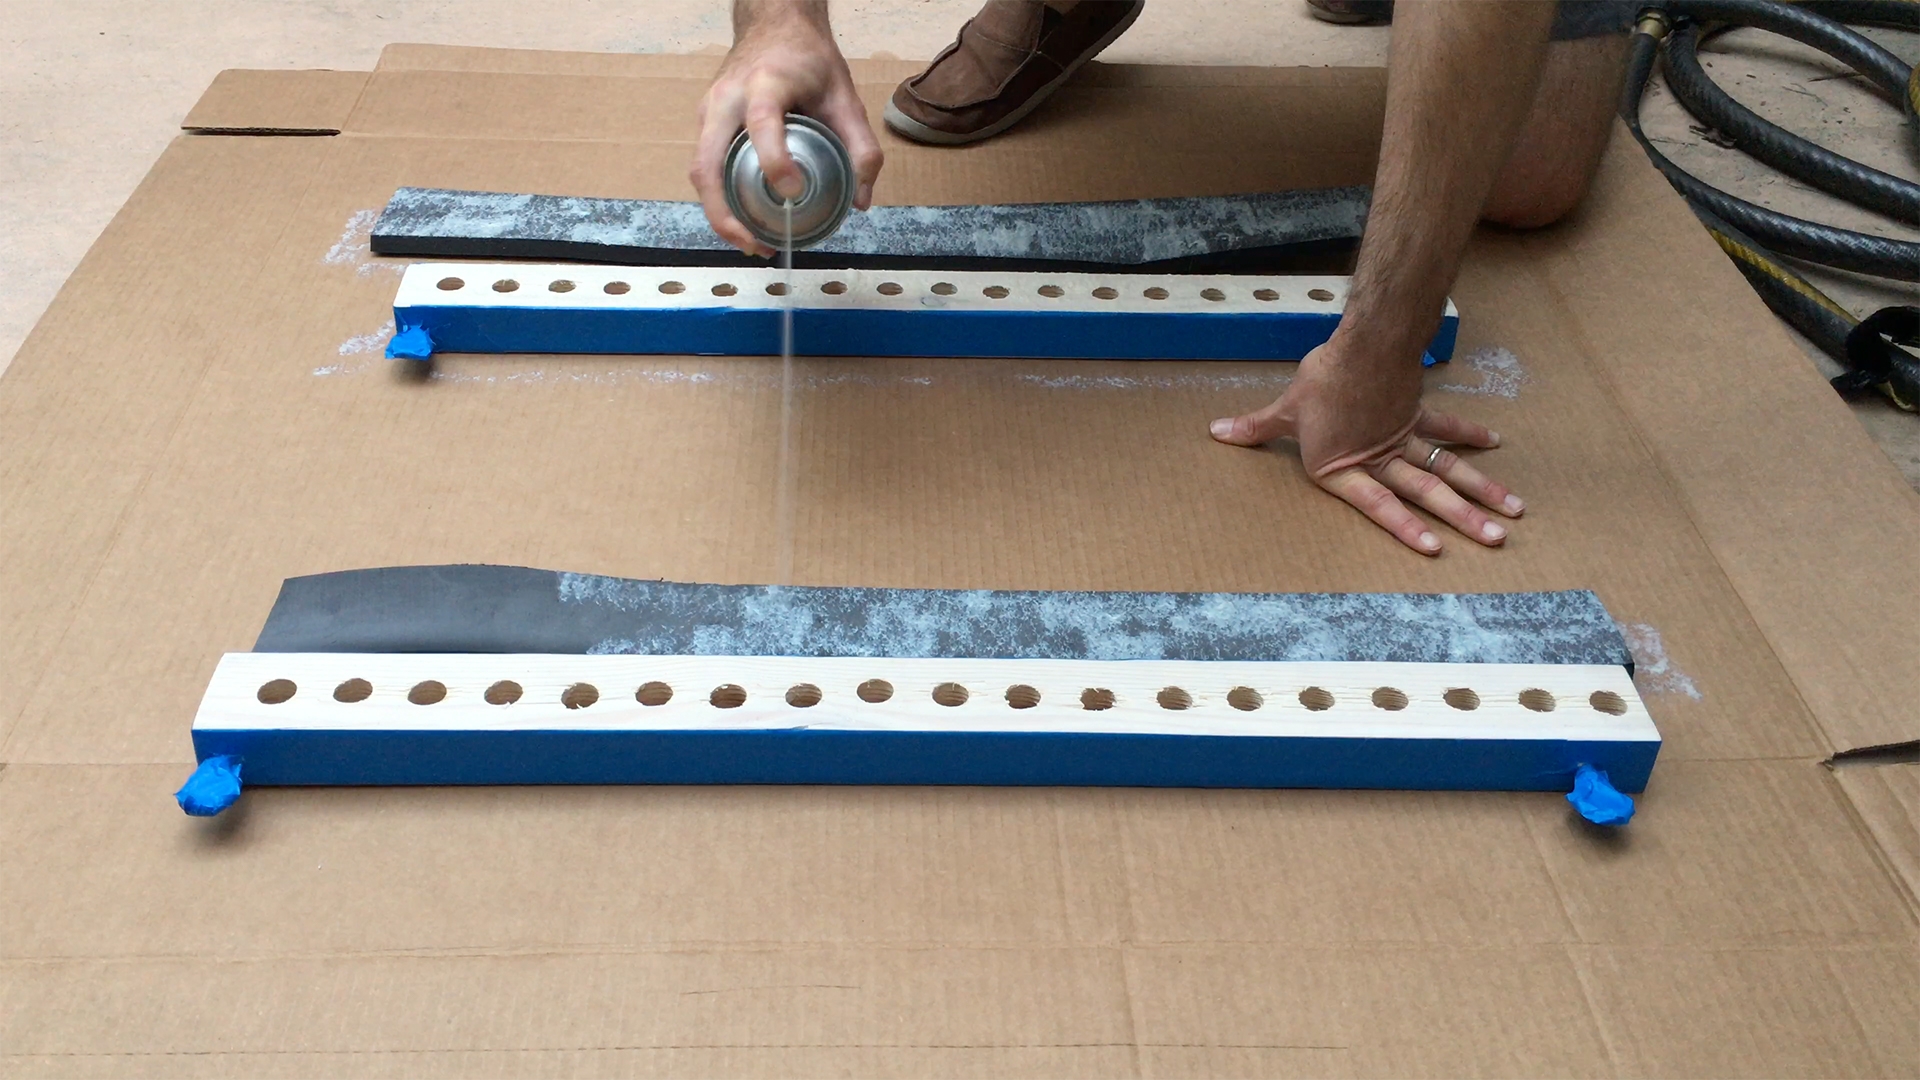
Since the boards might be wet after a surf session when inserting into the rack, protecting the wood will help it last longer. Sand the 2″x3″ pieces before painting.
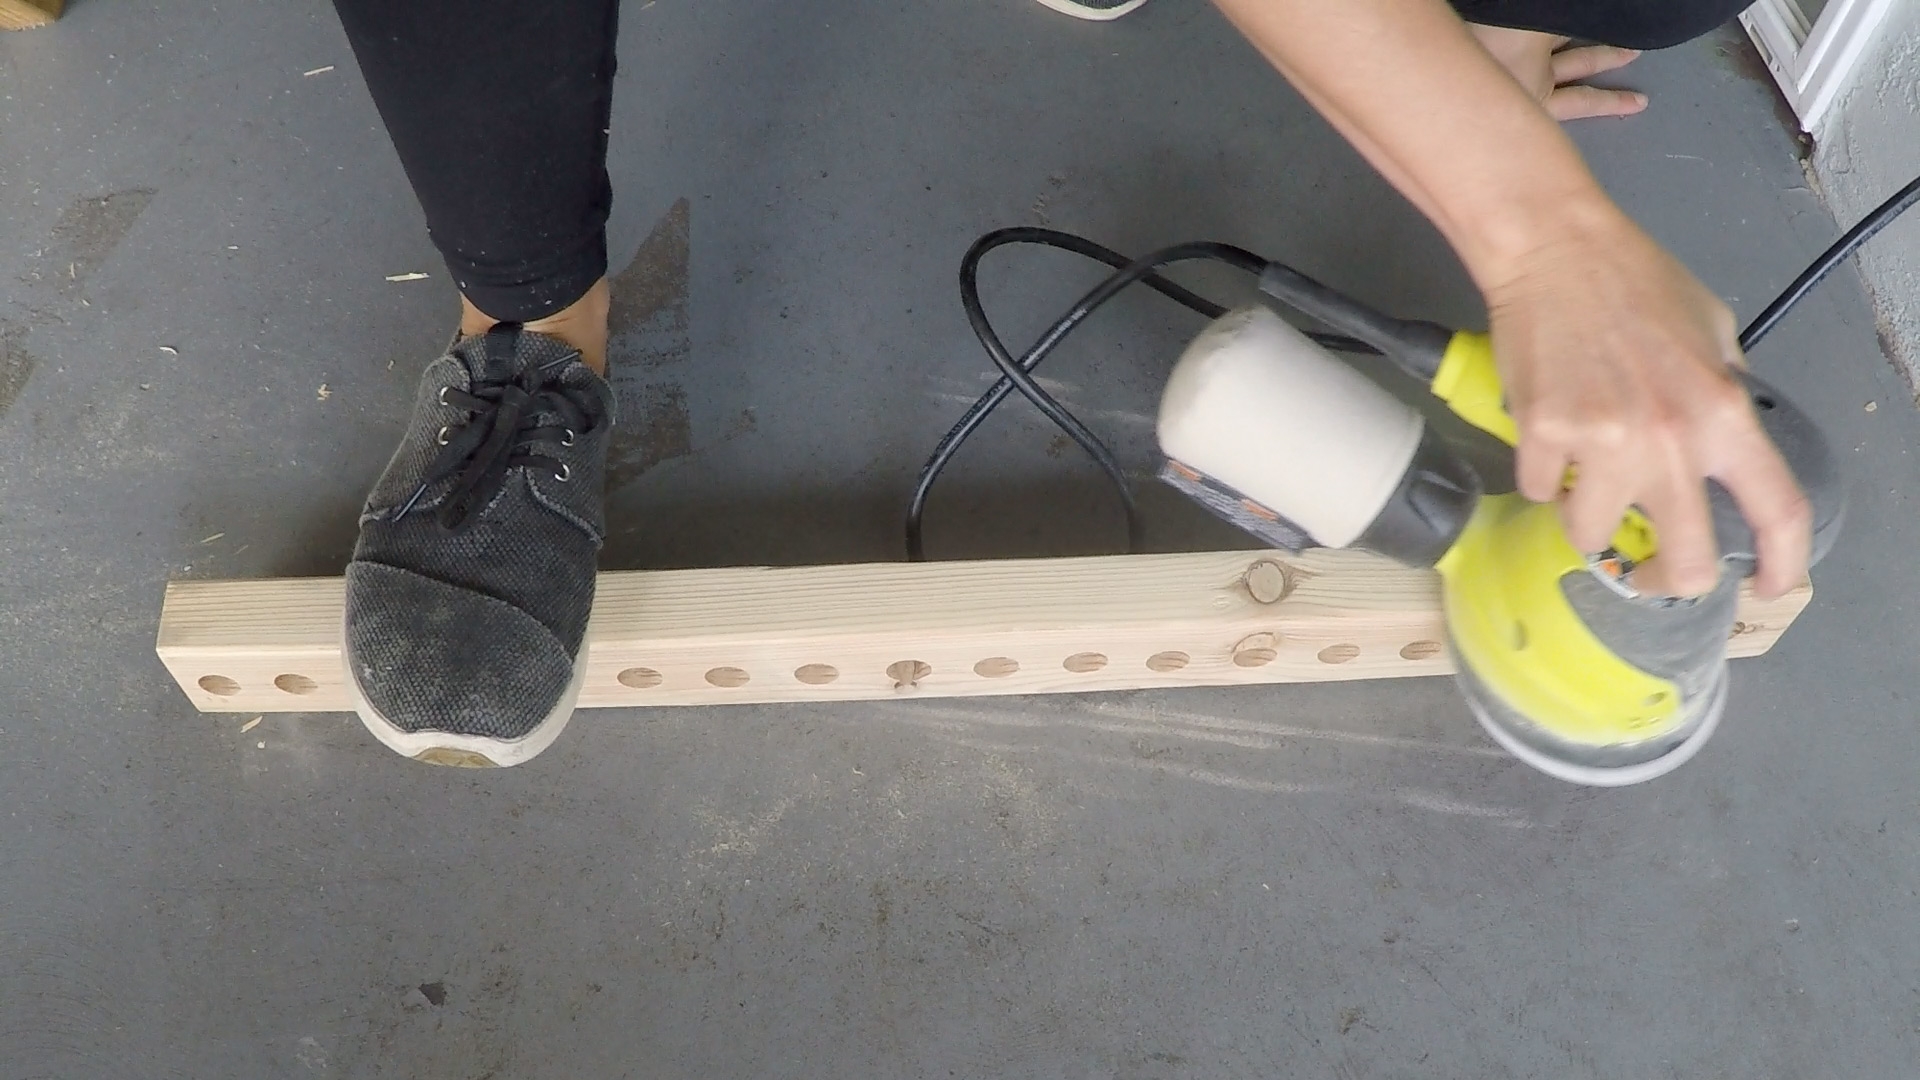
Sanding the wood before painting.
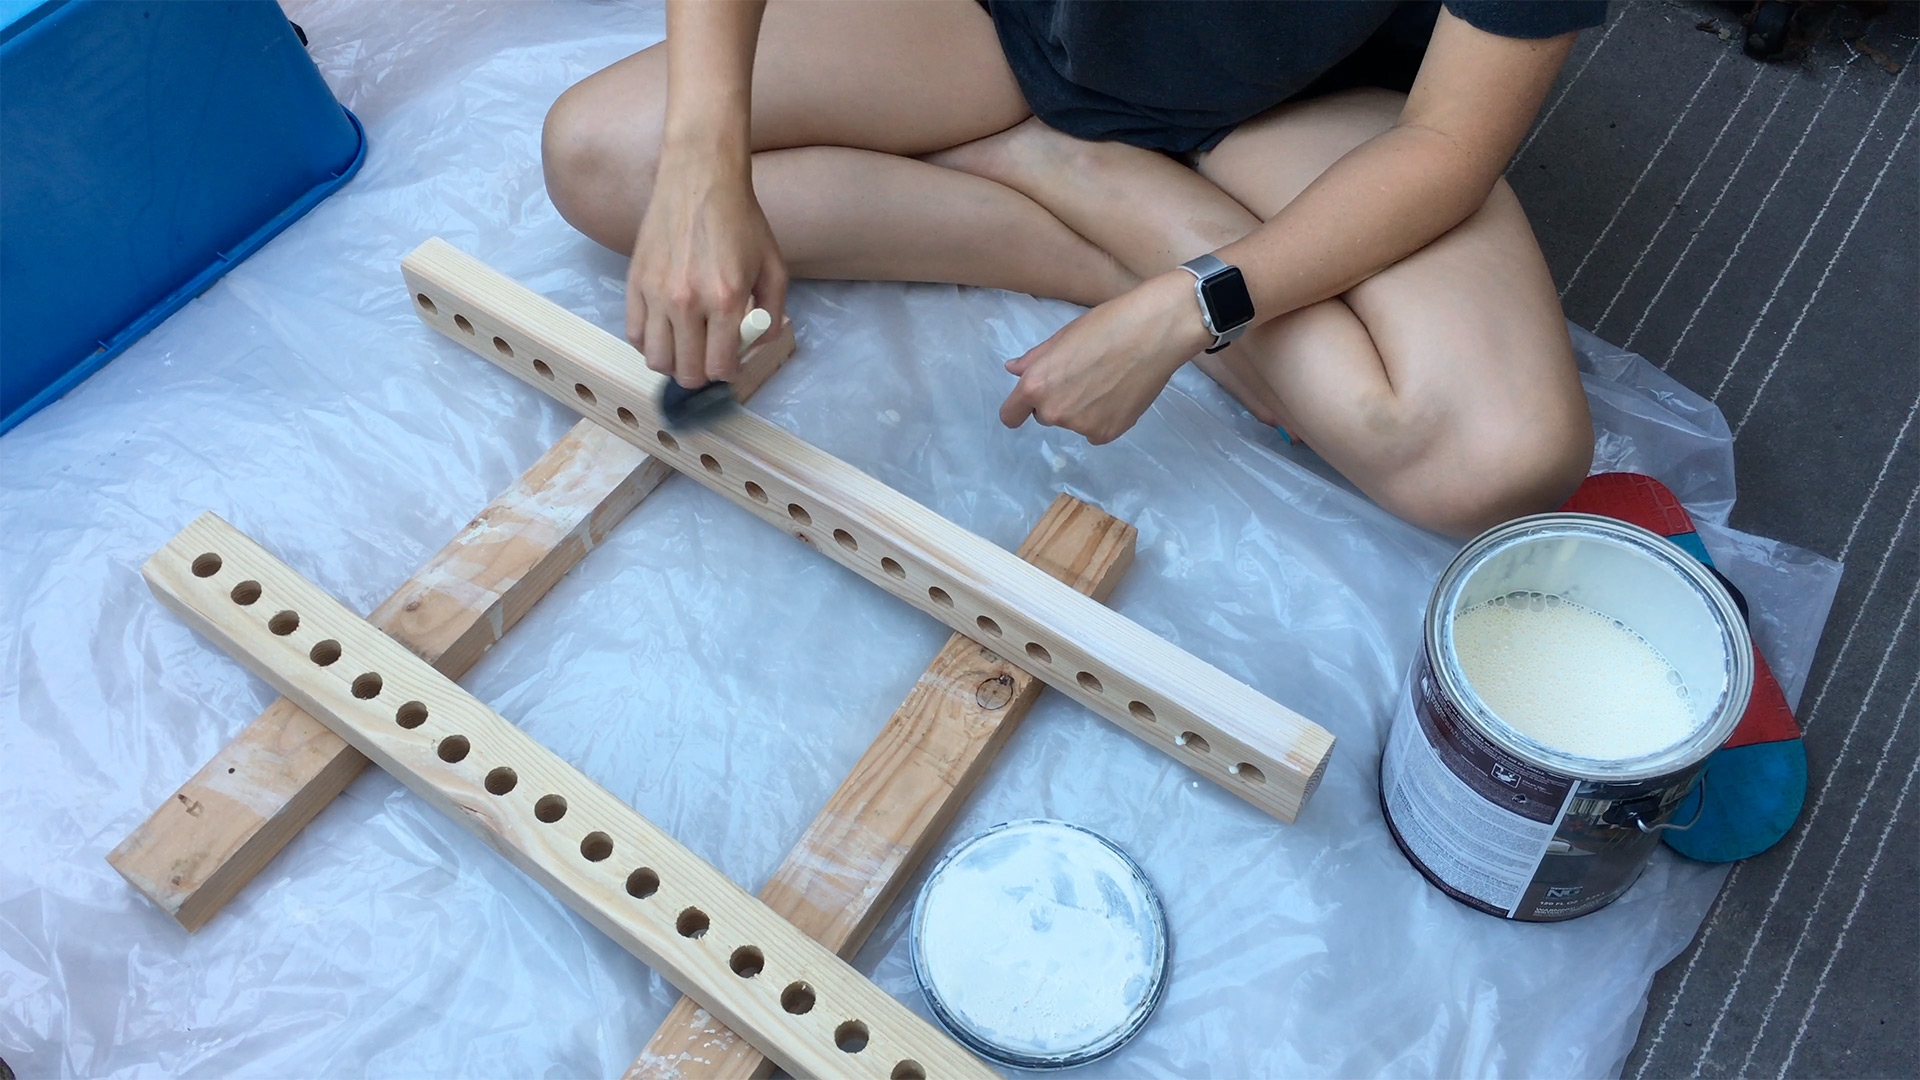
Paint the wood to protect it. We only painted the 2″x3″ bases as water could potentially sit on it. The dowels we left unpainted since they are covered with pipe insulation.
Since the wooden dowels are covered with foam you don’t need to paint them as they won’t be exposed to much moisture.
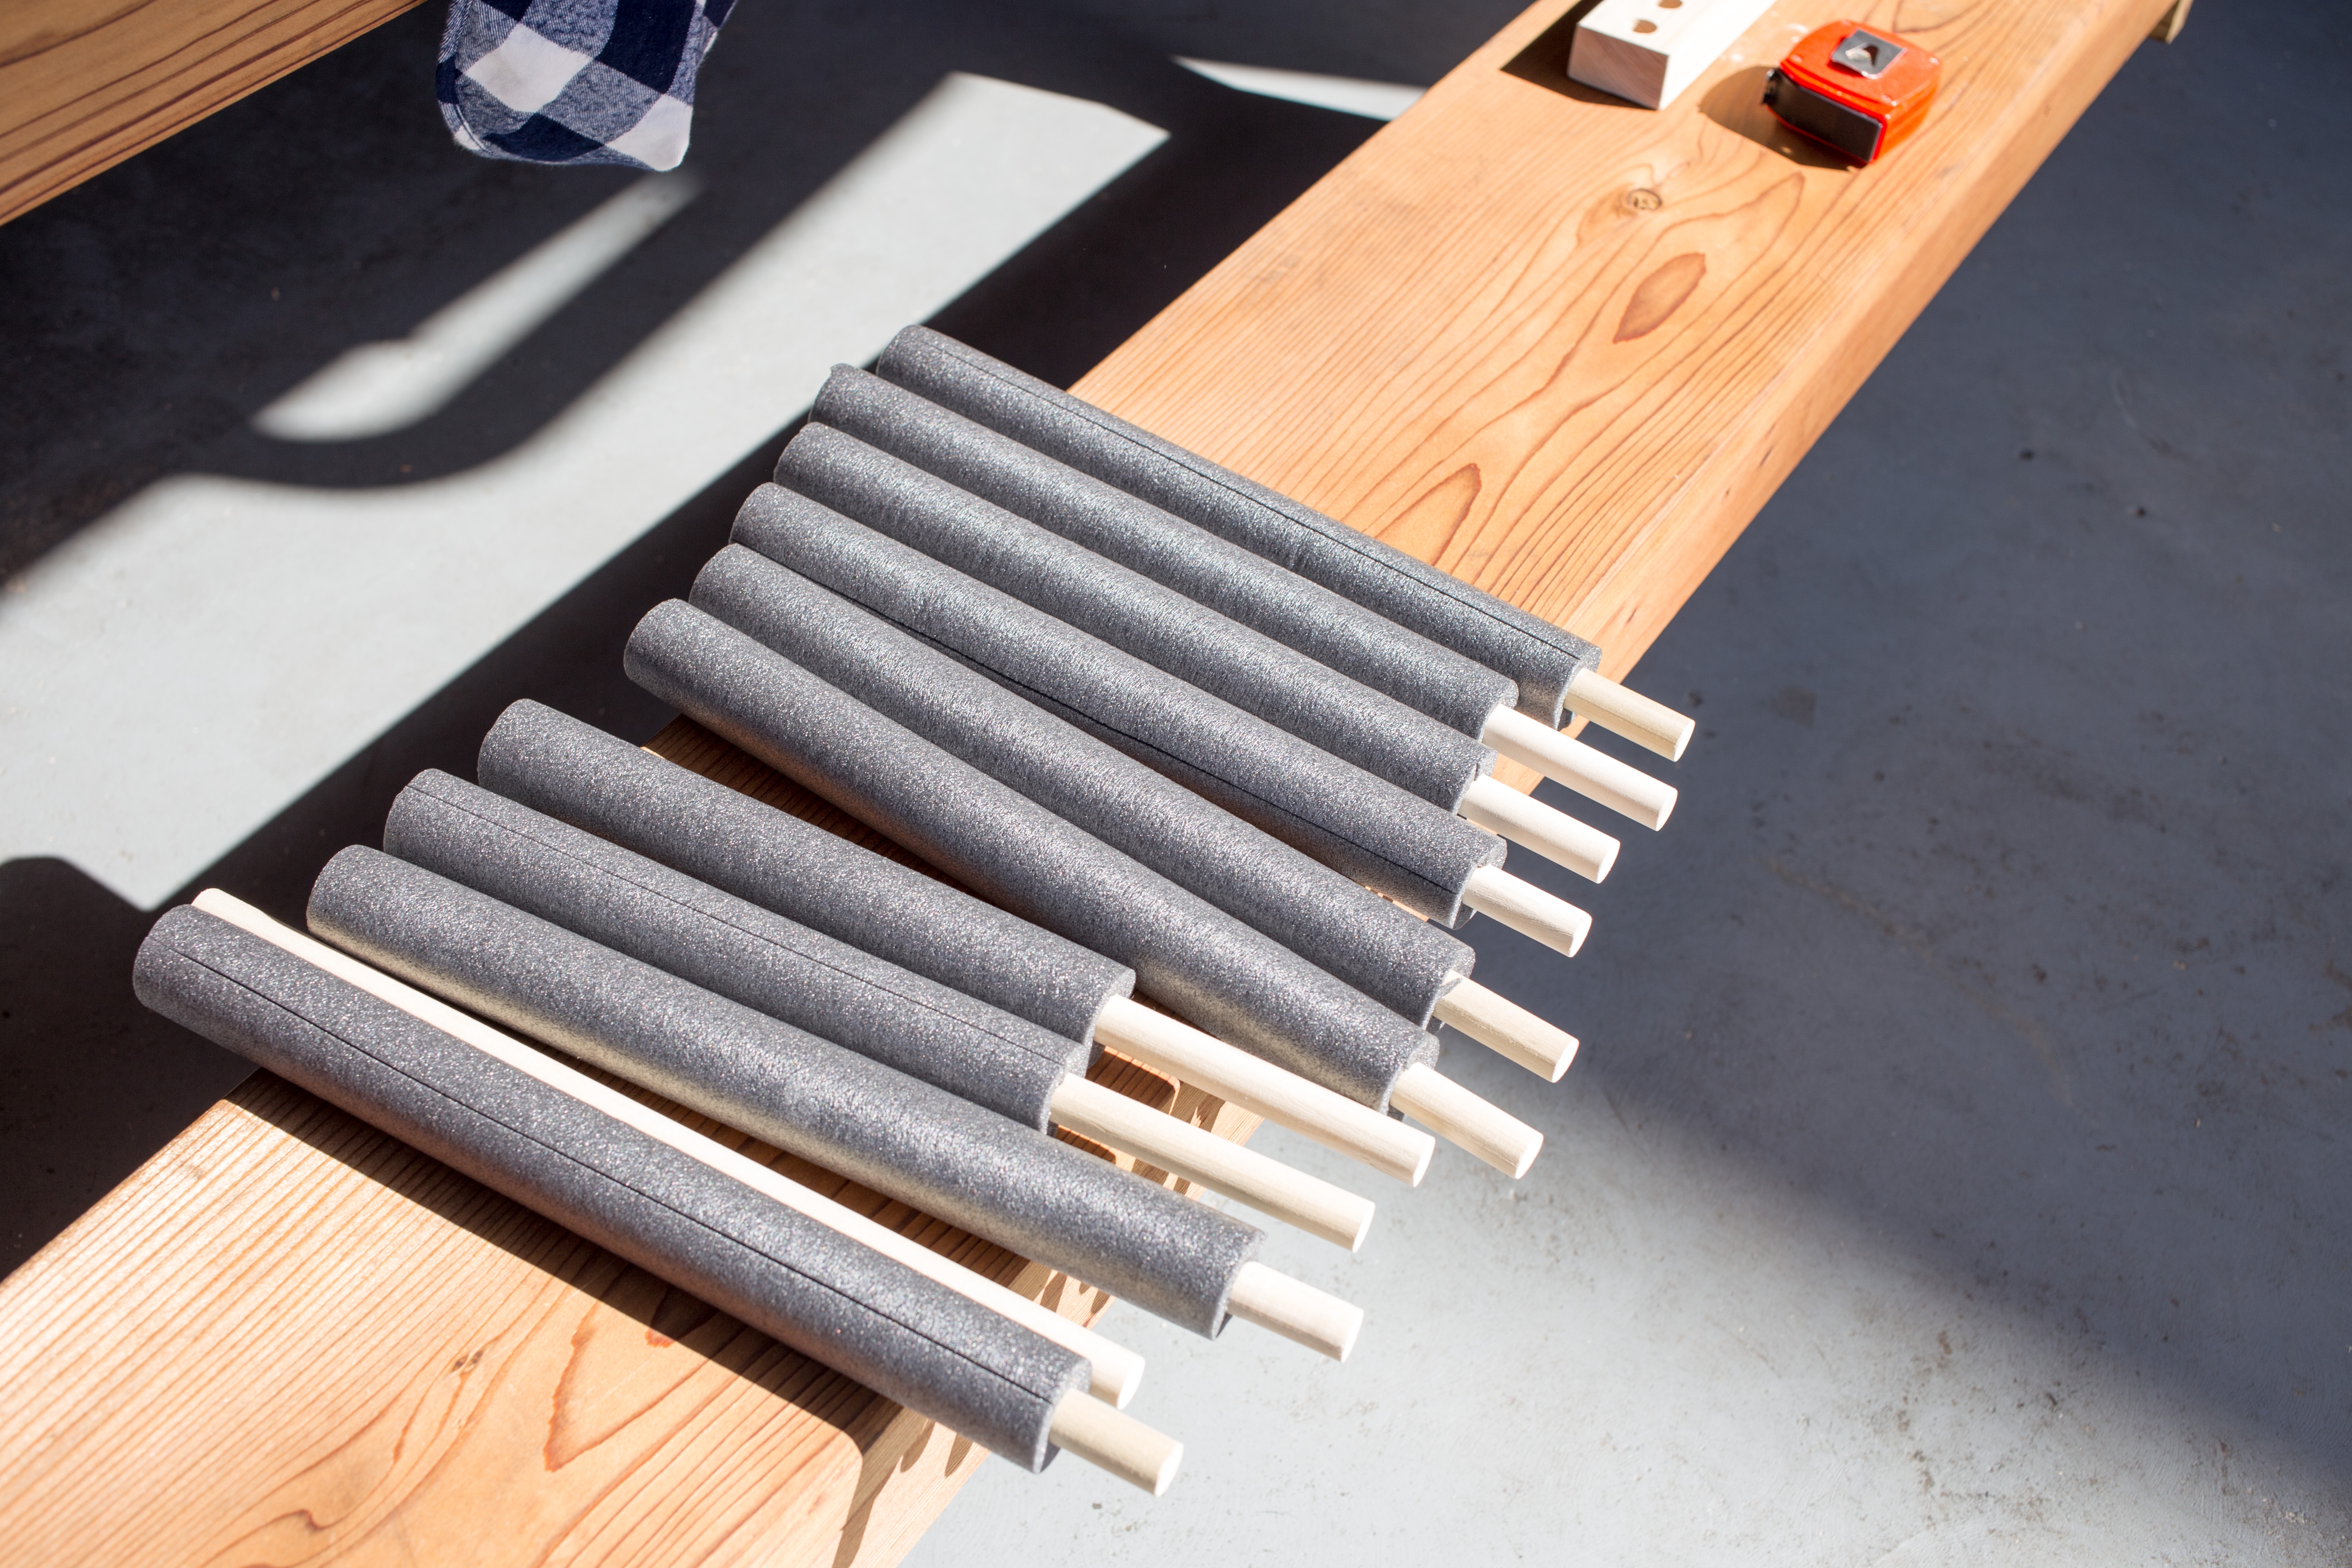
Insert the wood dowels into the pipe insulation.
Add 4 eye screws to the ends for the bungees.
Pre-drill and screw in the eye screws.

Installed eye screw. You’ll use the eye screws to attach the bungee cords.
Since the surfboard rails will be resting on the rack, adding foam will help protect them. We had leftover cross linked polyethylene foam (closed cell foam often called minicell foam) from a previous project that we used.

Cut foam to length. The surfboard rails will rest on the foam for protection.
Tape of the edges of the 2″x3″ so that when you glue the foam down it doesn’t get everywhere.
Using 3M 90 adhesive spray both the foam and the 2″x3″ base.

Attach the glue sides together.

Once the glue has dried use a utility knife to gut any excess foam off.
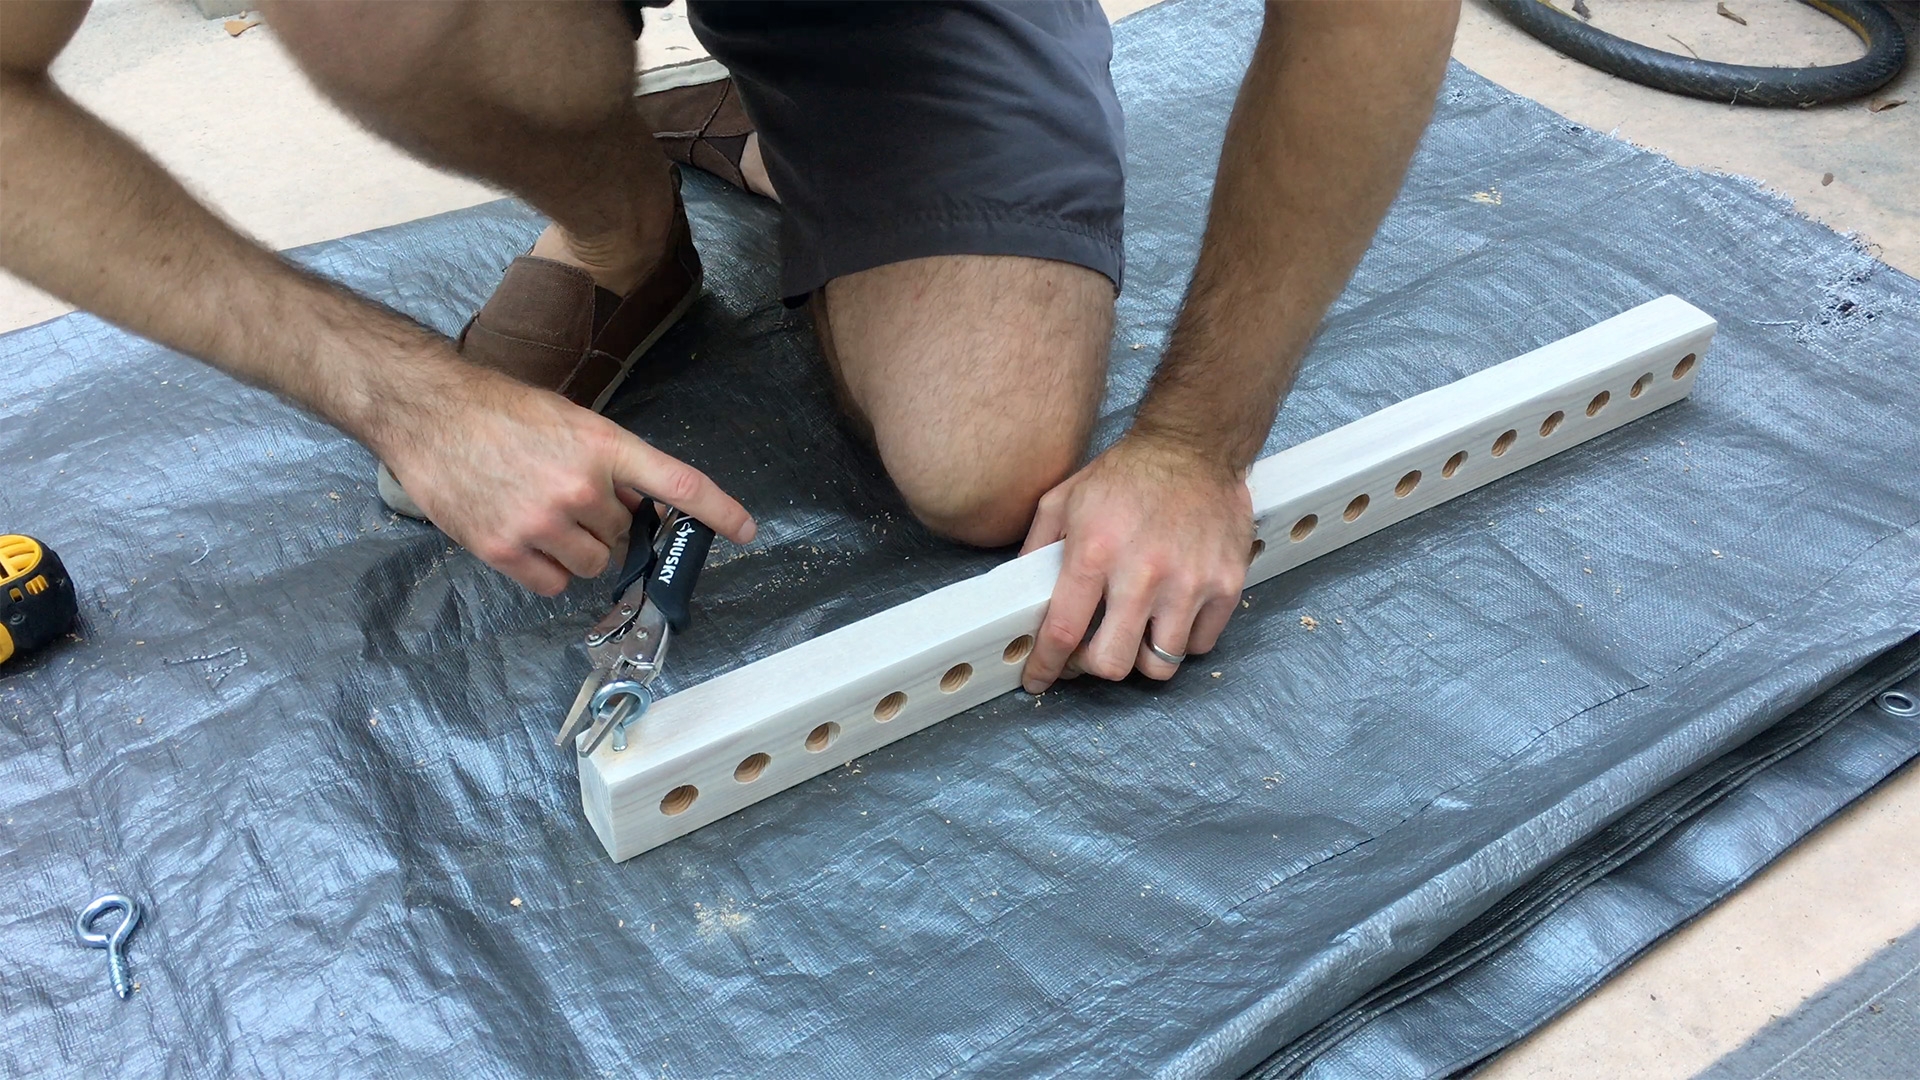
After the foam is attached to the 2″x3″ bases, drill out the holes for the dowels and for the screws to attach the racks to the floor.

Drill out the foam where the dowels will go and where the base will be screwed into the floor.

Screw the base into the floor.
After the racks are screwed into the floor you can add the dowels and bungees.
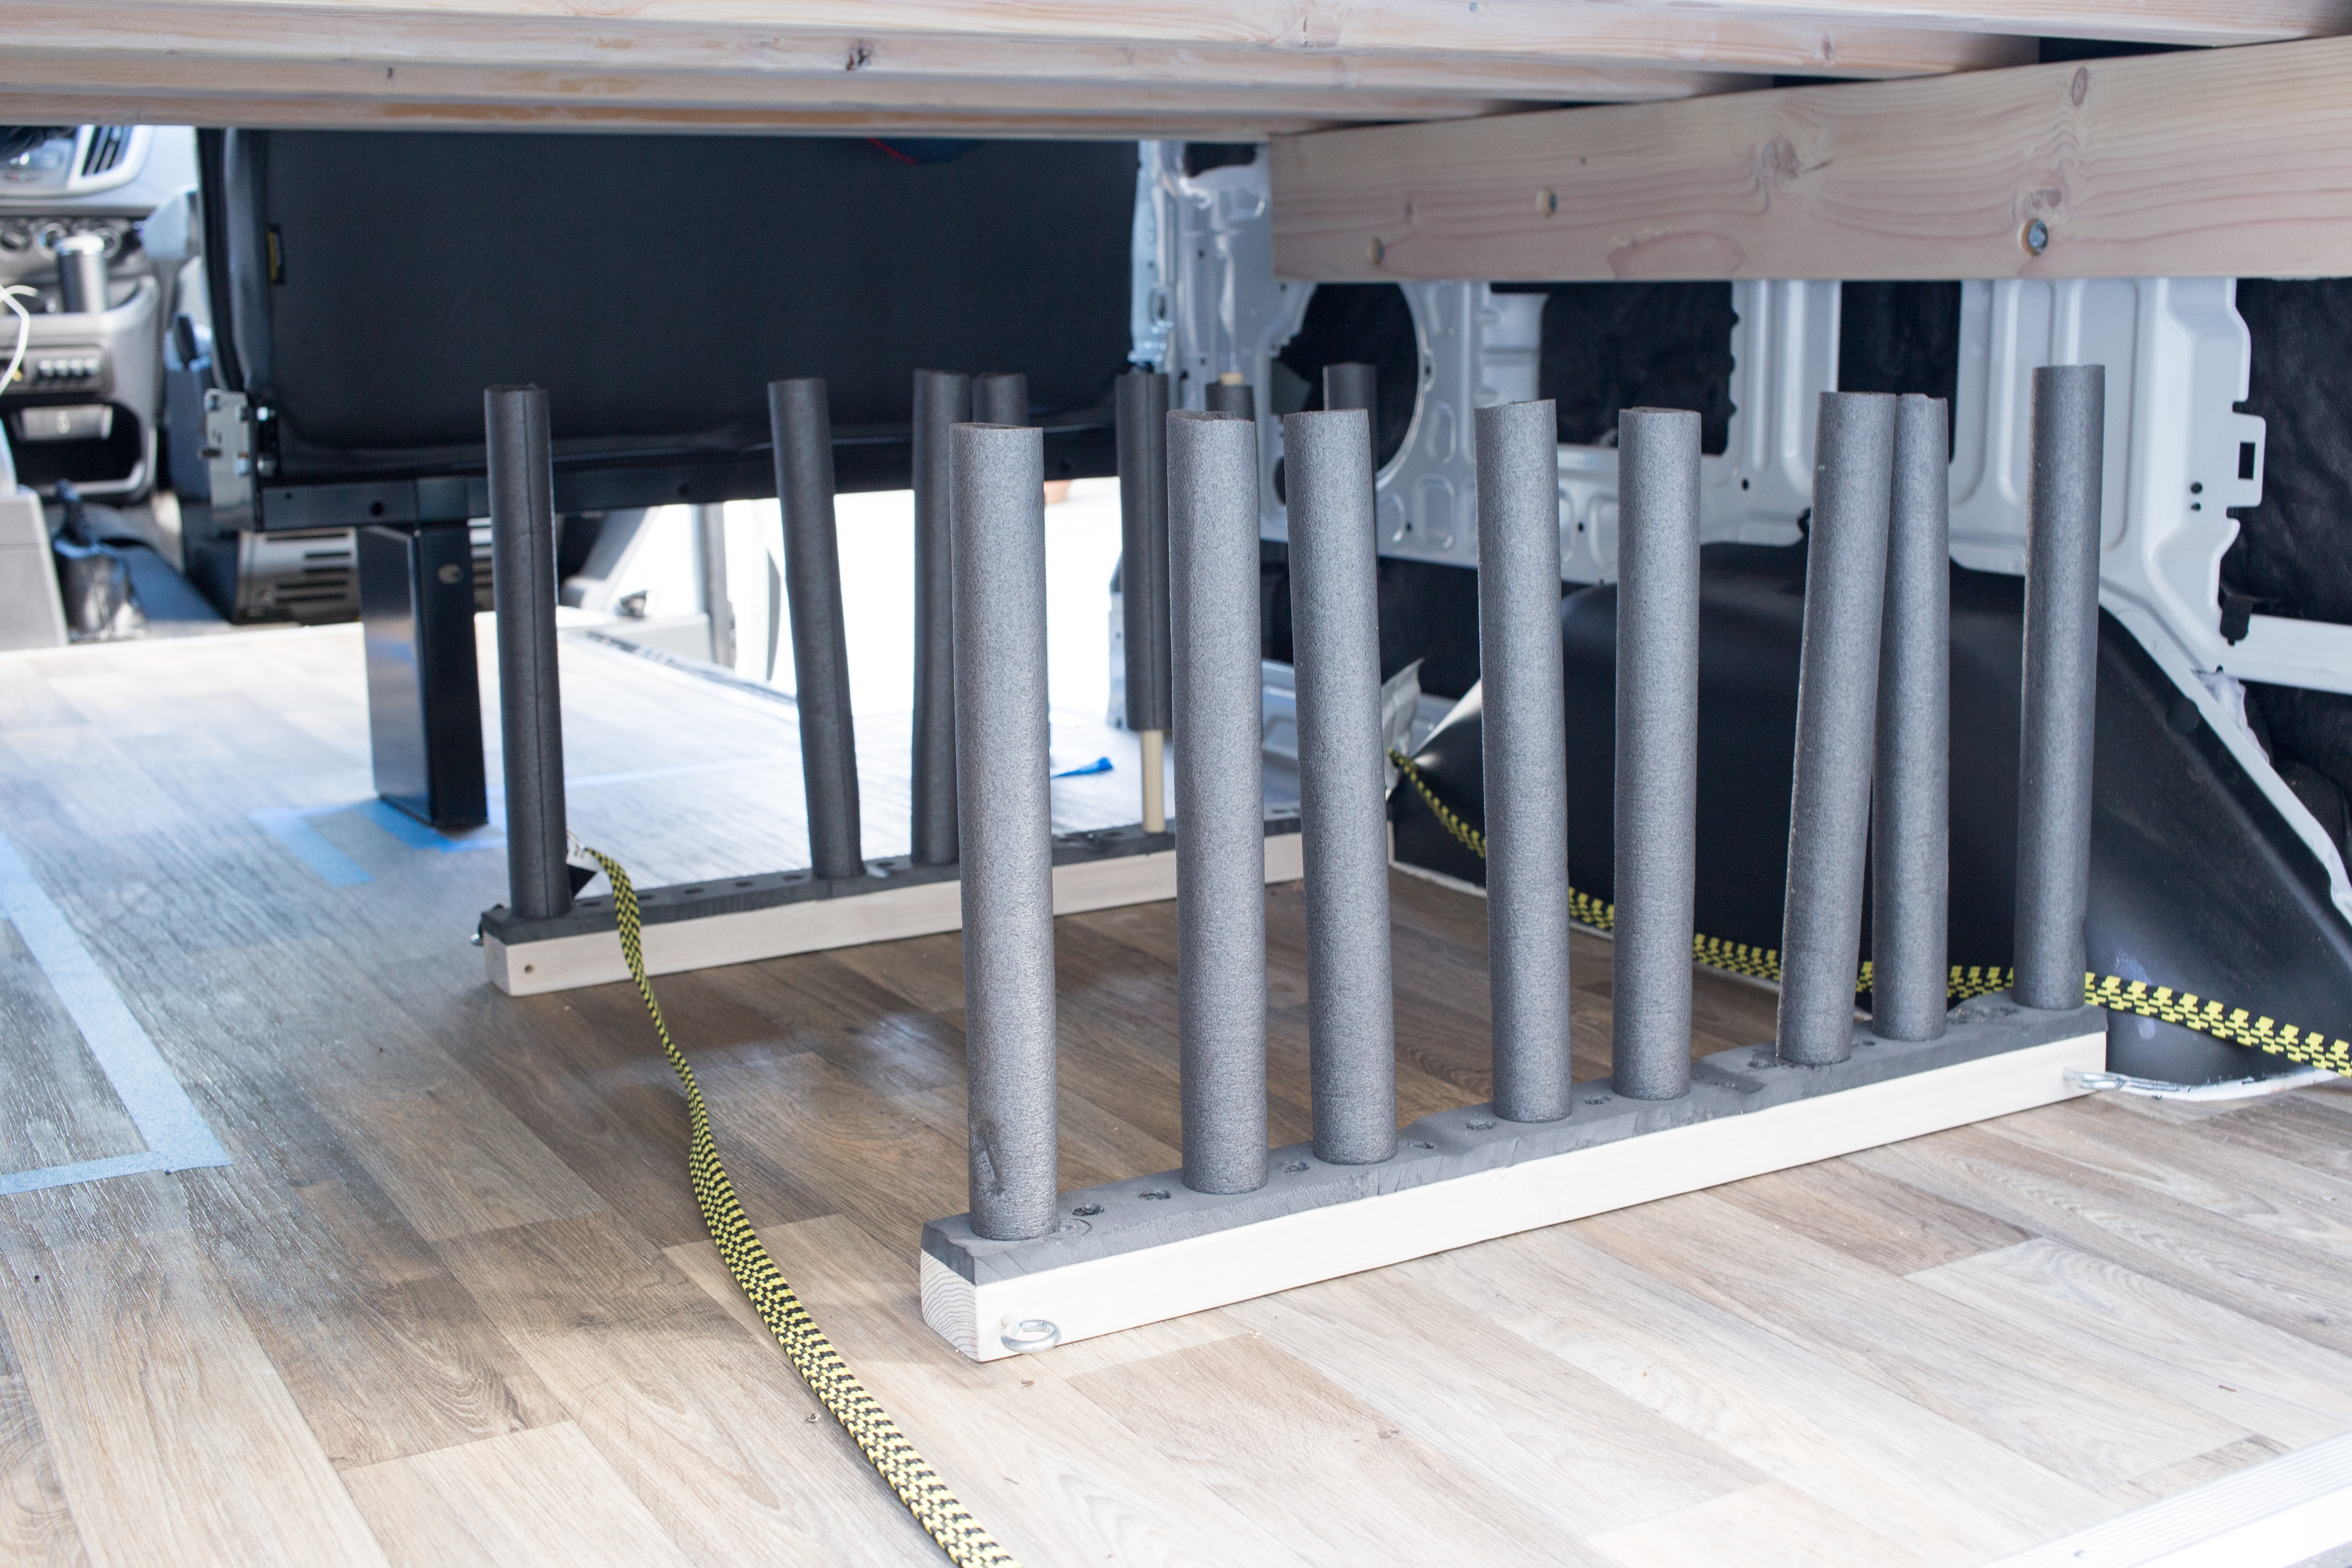
Insert the dowels into the holes.
Finally, add the boards to the rack.

Finished rack with surfboards.

This is awesome! Thinking about something similar for a truck!