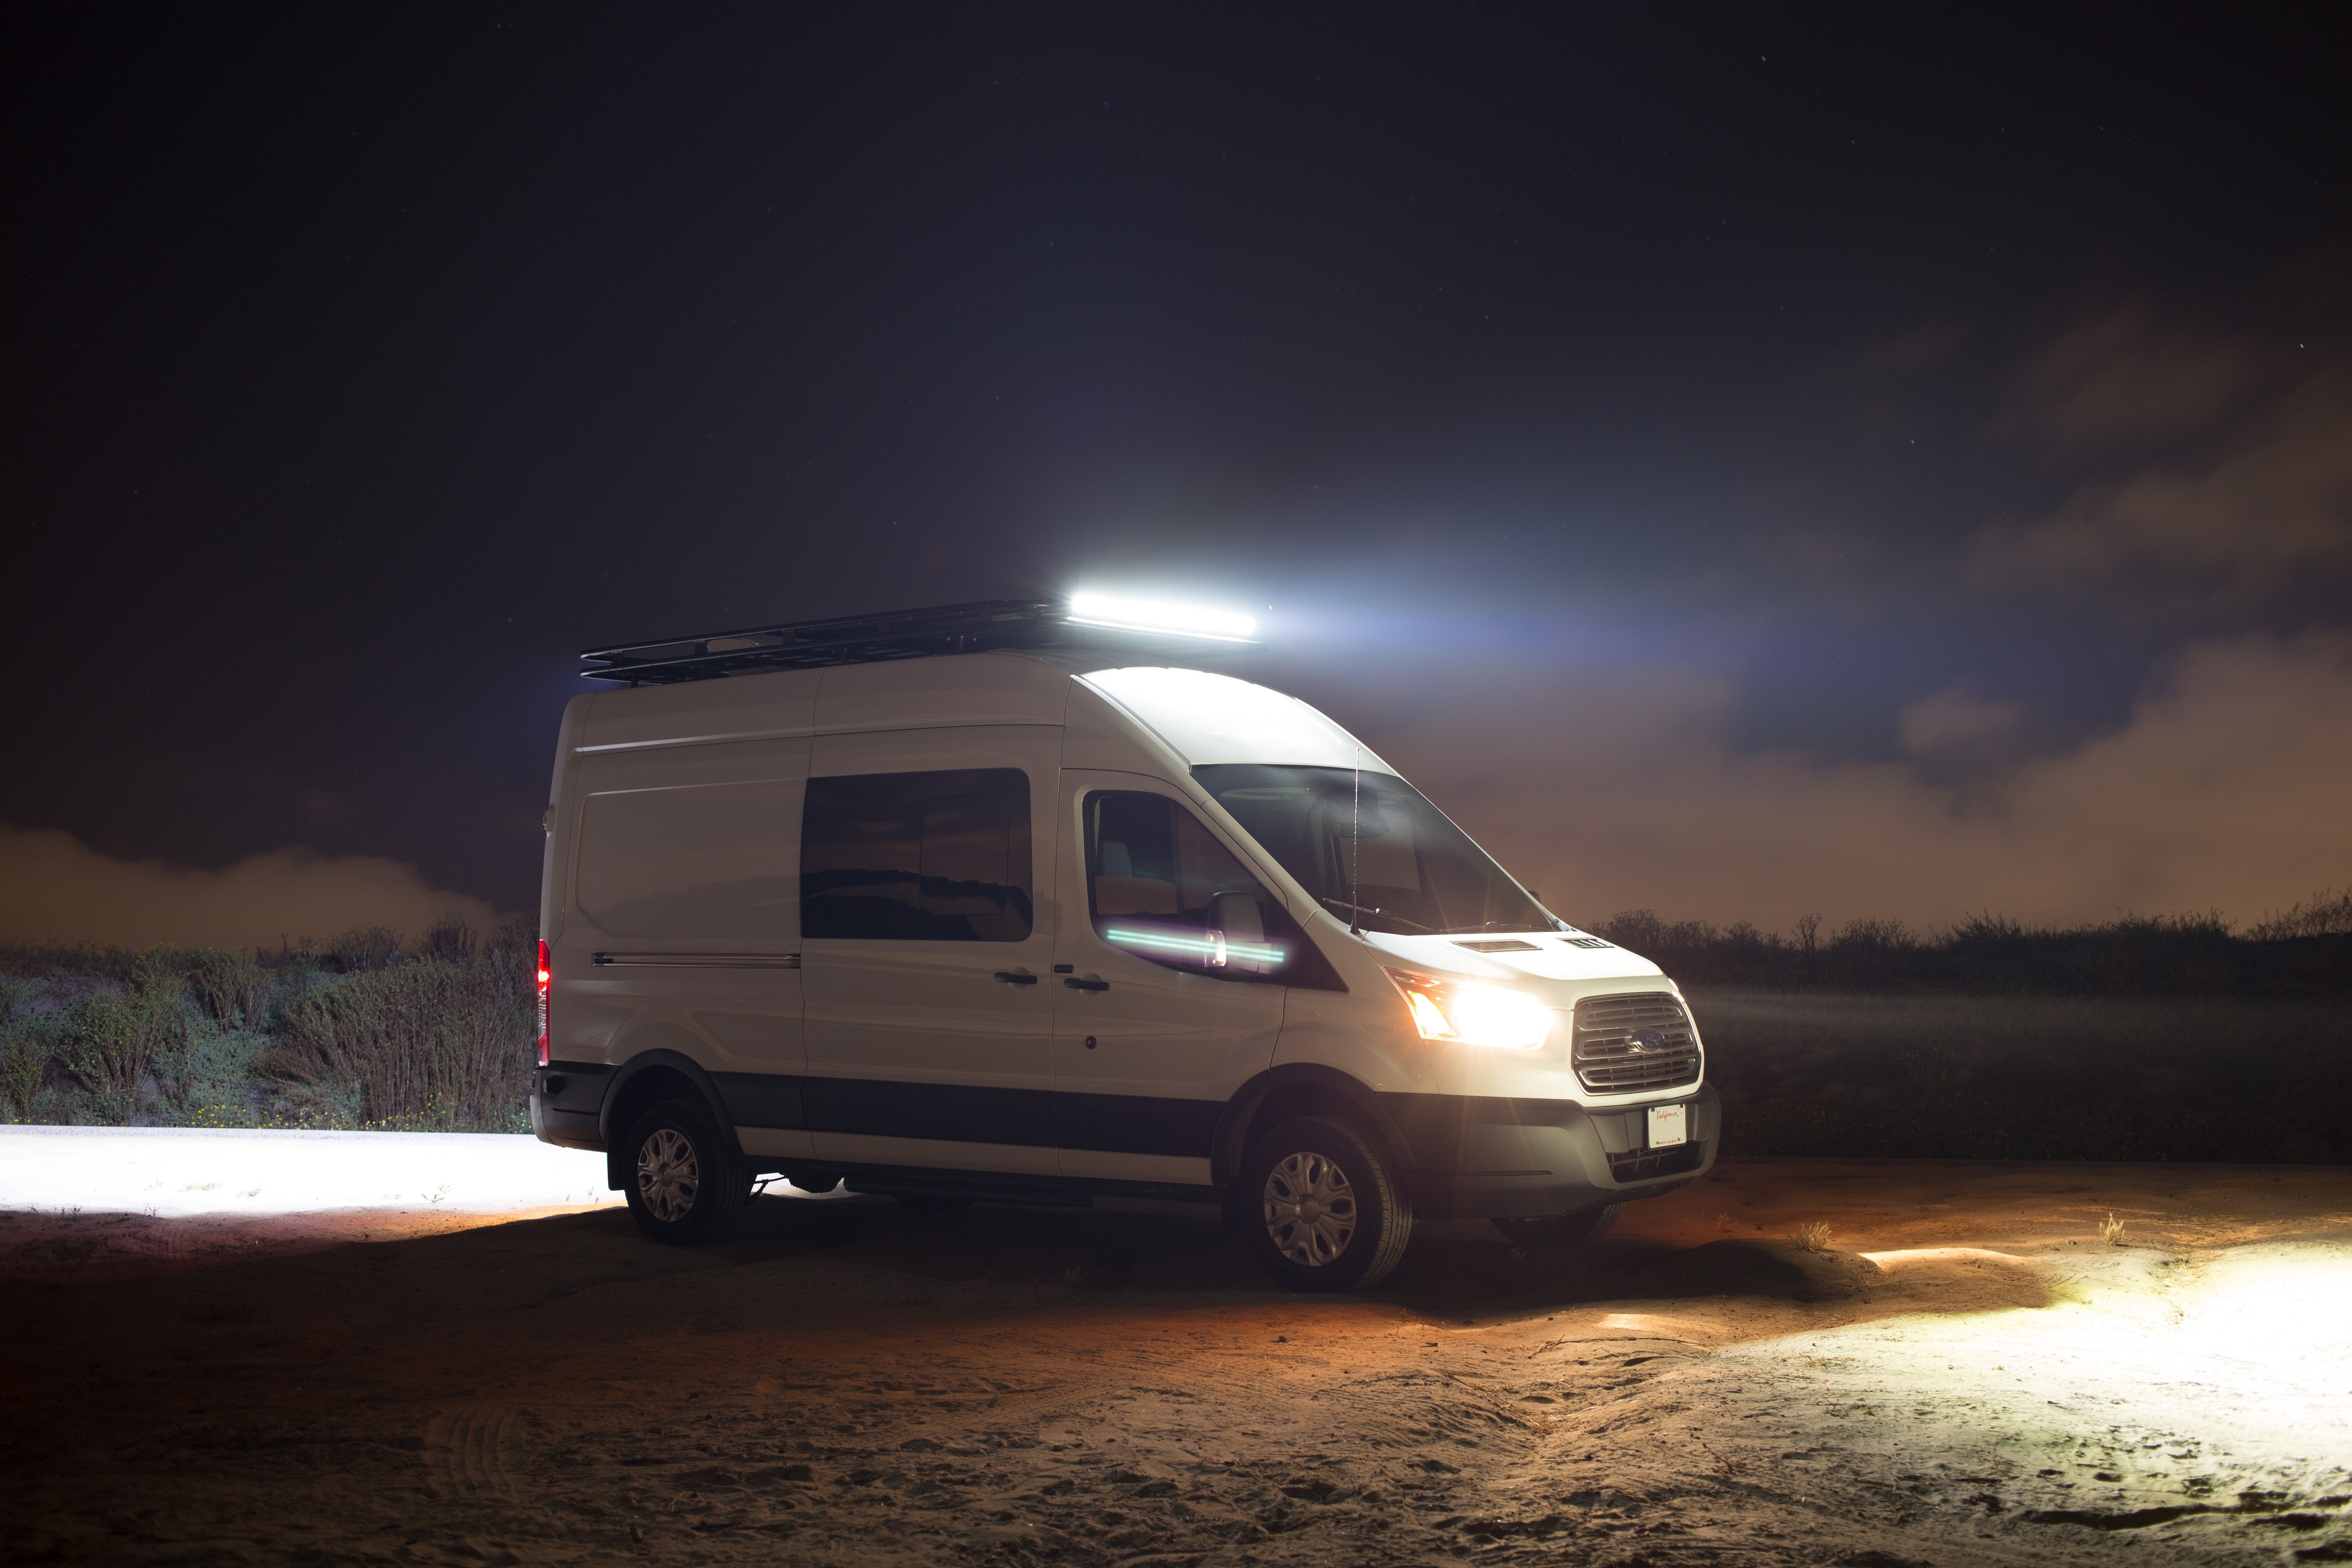
Adding Light Bars To The Roof Rack
Any respectable adventure van needs a light bar, it’s just a given. And now that Gidget has a rack to mount lights on there was nothing stopping it from happening.
There are some very expensive light bars out there and they are probably great but would be serious overkill for our needs. We just need a little extra light when traveling on dirt back roads, particularly in Baja.
So we found some affordable ones on Amazon that had decent reviews and so far we are very happy with them.
Parts
- 4″ Flood Lights – $16.52
- 52″ 300W Spot and Flood Combo Light Bar – $44.99
- SPDT 12V Relay – $14
- Line Fuse Holder – $7
- Ancor Marine Grade Duplex Wire 10 AWG Flat – $86.95
- Split Wire Loom – $21.99
- Zip Ties – $8.99
- Various Crimp Terminal Connectors – $16.96
- Electrical Tape – $7.99
- Dicor Lap Sealant – $10.62
Tools
- Automatic Center Punch – $5.14
- Drill and drill bits
- Wire stripper and cutter – $14.66
Instructions
When having the roof rack installed we added a front 3″ slat cross member so that we could mount a light bar, it was a $65 addition.
We choose the Nilight 52″ 300W spot and flood combination LED light bar because it has both spot and flood lenses in one bar, was affordable, and had decent reviews on Amazon.
The bar was placed into position and centered. Once we were happy with the alignment we used a automatic center punch to mark spots to drill holes.
When drilling the holes use a shop van to vacuum the metal filings while you are drilling. For the first hole we didn’t do this and it made a mess on the roof.
We ran the wiring for the lights outside of the rack but you could also run it inside the rack. The circumference of the rack consist of a hollow round bar so you could drill some holes into it and feed the wires through it. We ran it outside of the rack for easy access in the future.
For the rear we added 4″ flood lights. One is angled down more than the other so that the maximum amount of area is illuminated.
The Aluminess rack already came with holes for mounting lights on the rear so no drilling was necessary.
The wires for the lights enter the van through a preexisting hole in the roof that is sealed up at the factory. We drilled out the plastic grommet and then fed the wires through the hole.
To seal the hole we used a gracious amount of Dicor Lap Sealant to ensure no water gets in.
Using relays we wired the front light bar to upfitter switch 2 and the rear flood lights to upfitter switch 3. Even though the lights don’t use much power and 99% of the time they will only be on while driving they are wired to the house power system. By wiring them to the house system we can comfortably use them when at camp without worrying about draining the vehicle batteries. Also, the front light bar could draw 25A which is more than the 20A supported by the upfitter switches.

Both the front light bar and the rear flood lights are connected via relays to the upfitter switches.
All that was left to do was a night test.


I thought it was interesting when you explained that LED lightbars can be used to get extra light when driving. I started a new job last week that has me driving on dirt roads in the middle of the night. It might be a good idea for me to install a lightbar on my car so that I don’t hit any wildlife at night.